Get Ref Plans running at full power in about ten minutes.
In this guide you’ll connect a repo, plan a feature with AI, and hand off the work to coding agents that open PRs for you. It takes about ten minutes.By the end you’ll have a connected repo, a configured agent, and a clear path from rough idea to merged code.
1
Sign up
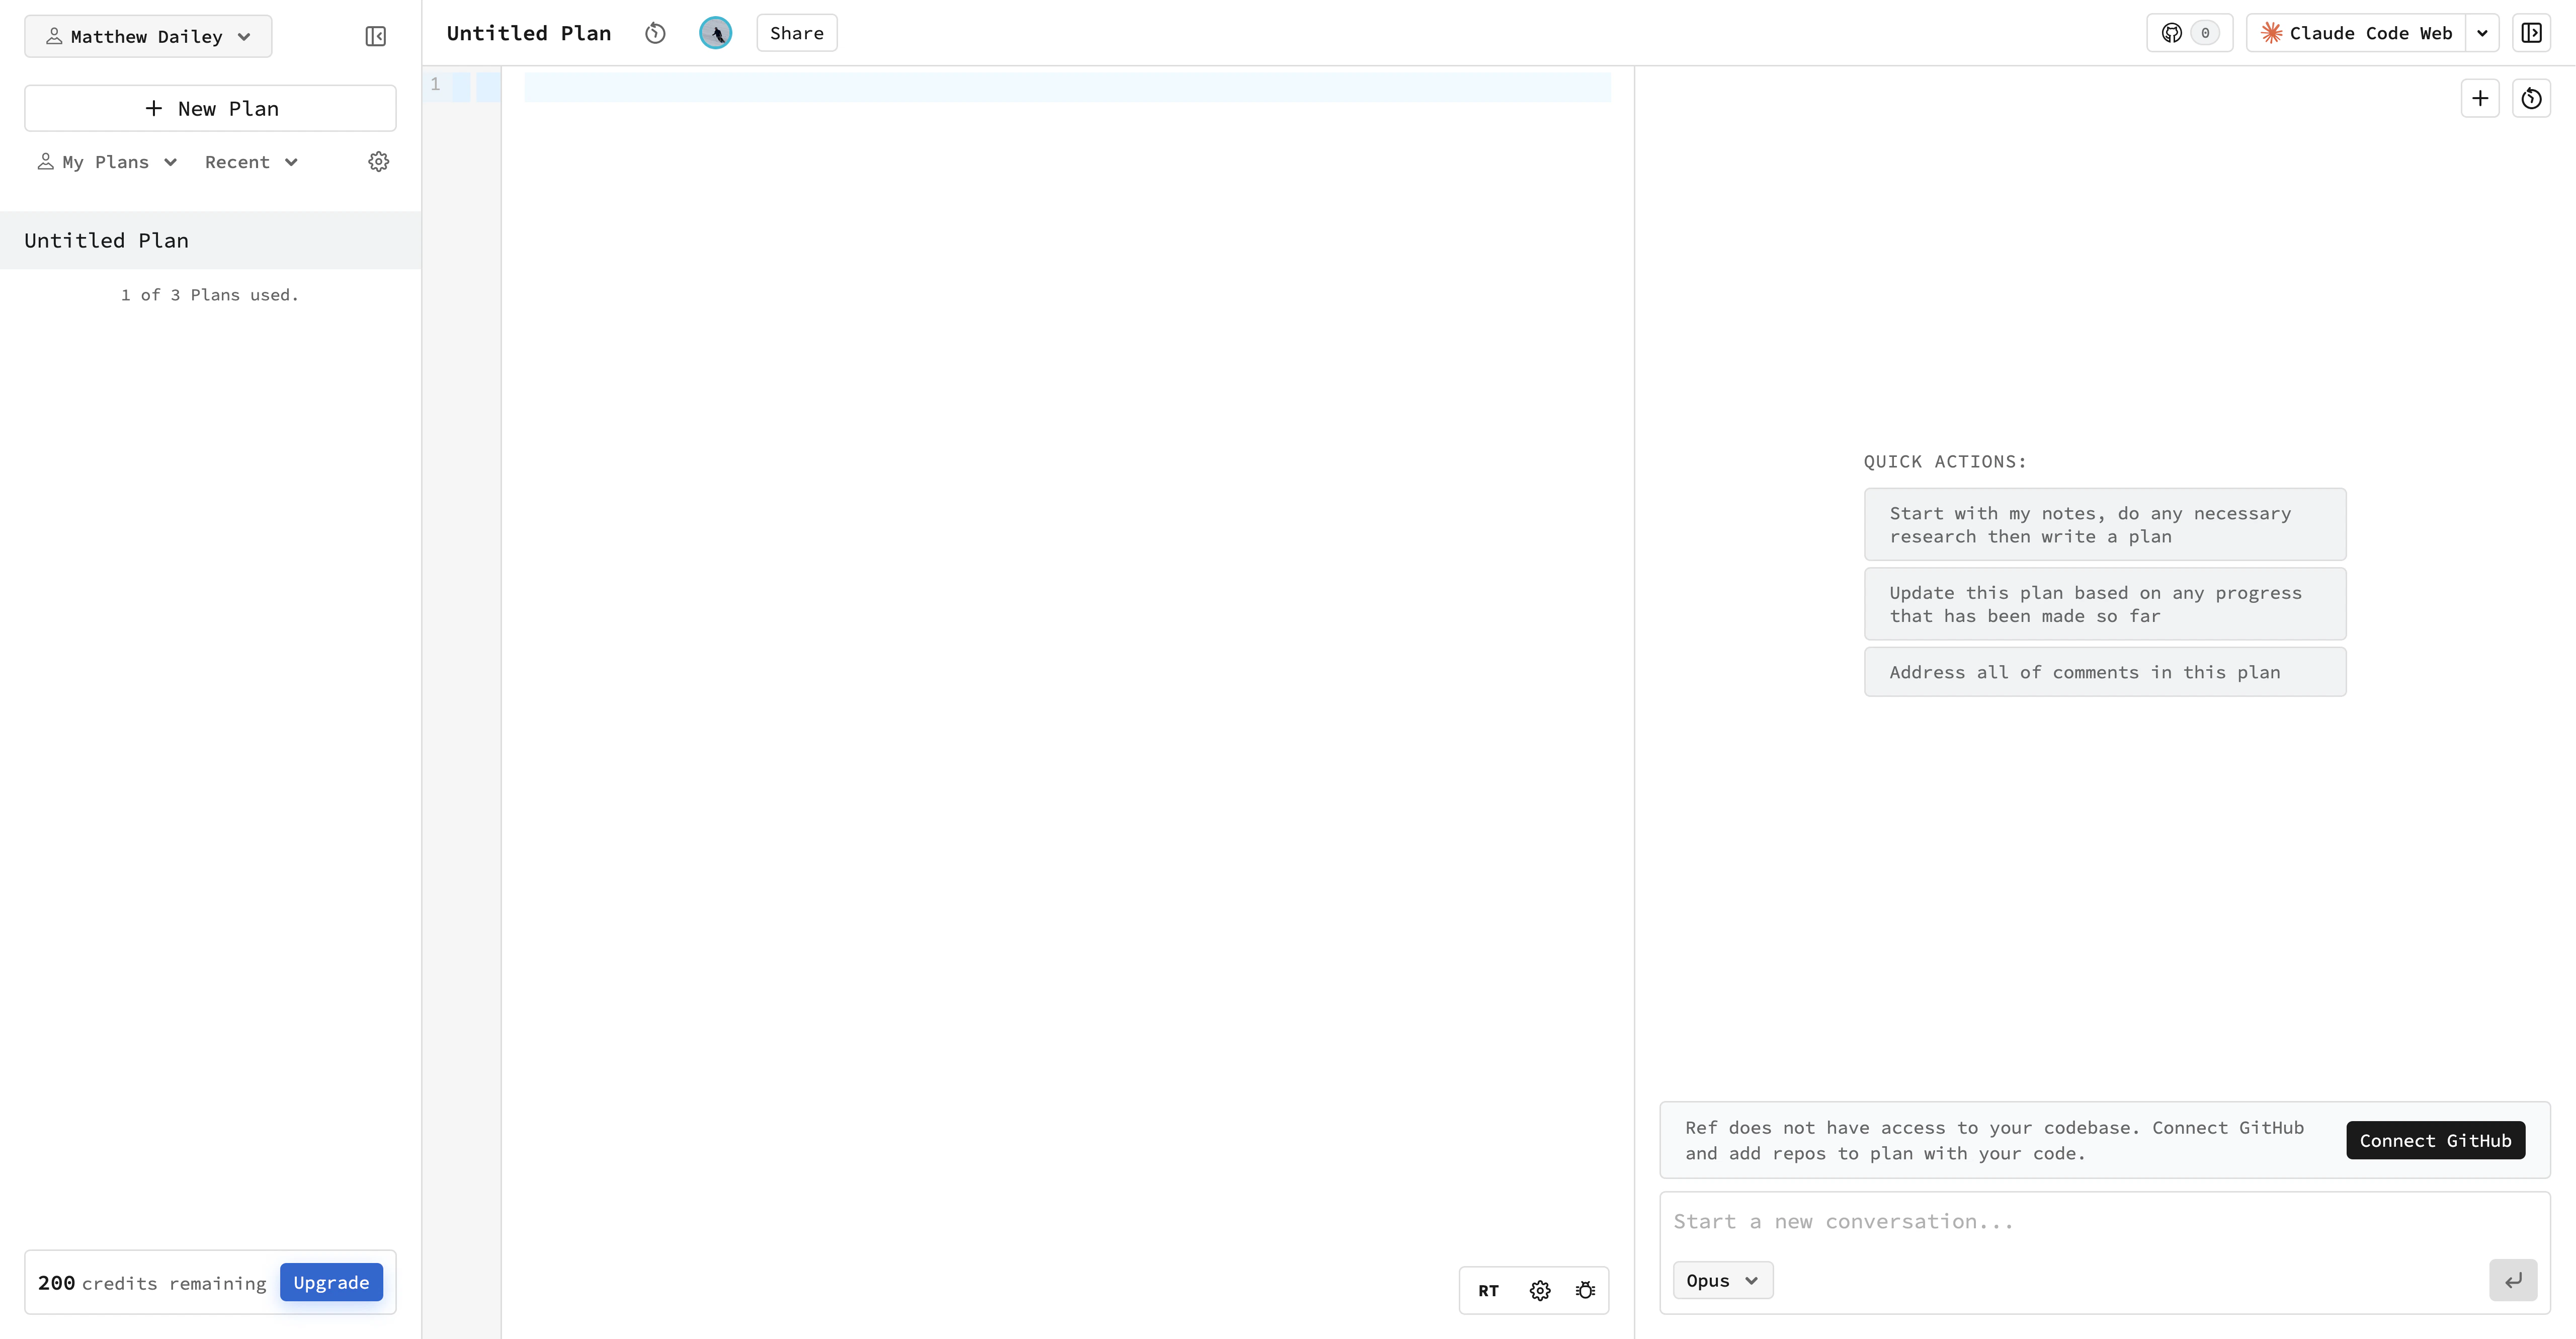
Create an account at plan.ref.tools. You’ll land on a blank doc — your space to think through what you want to build.
2
Connect your codebase
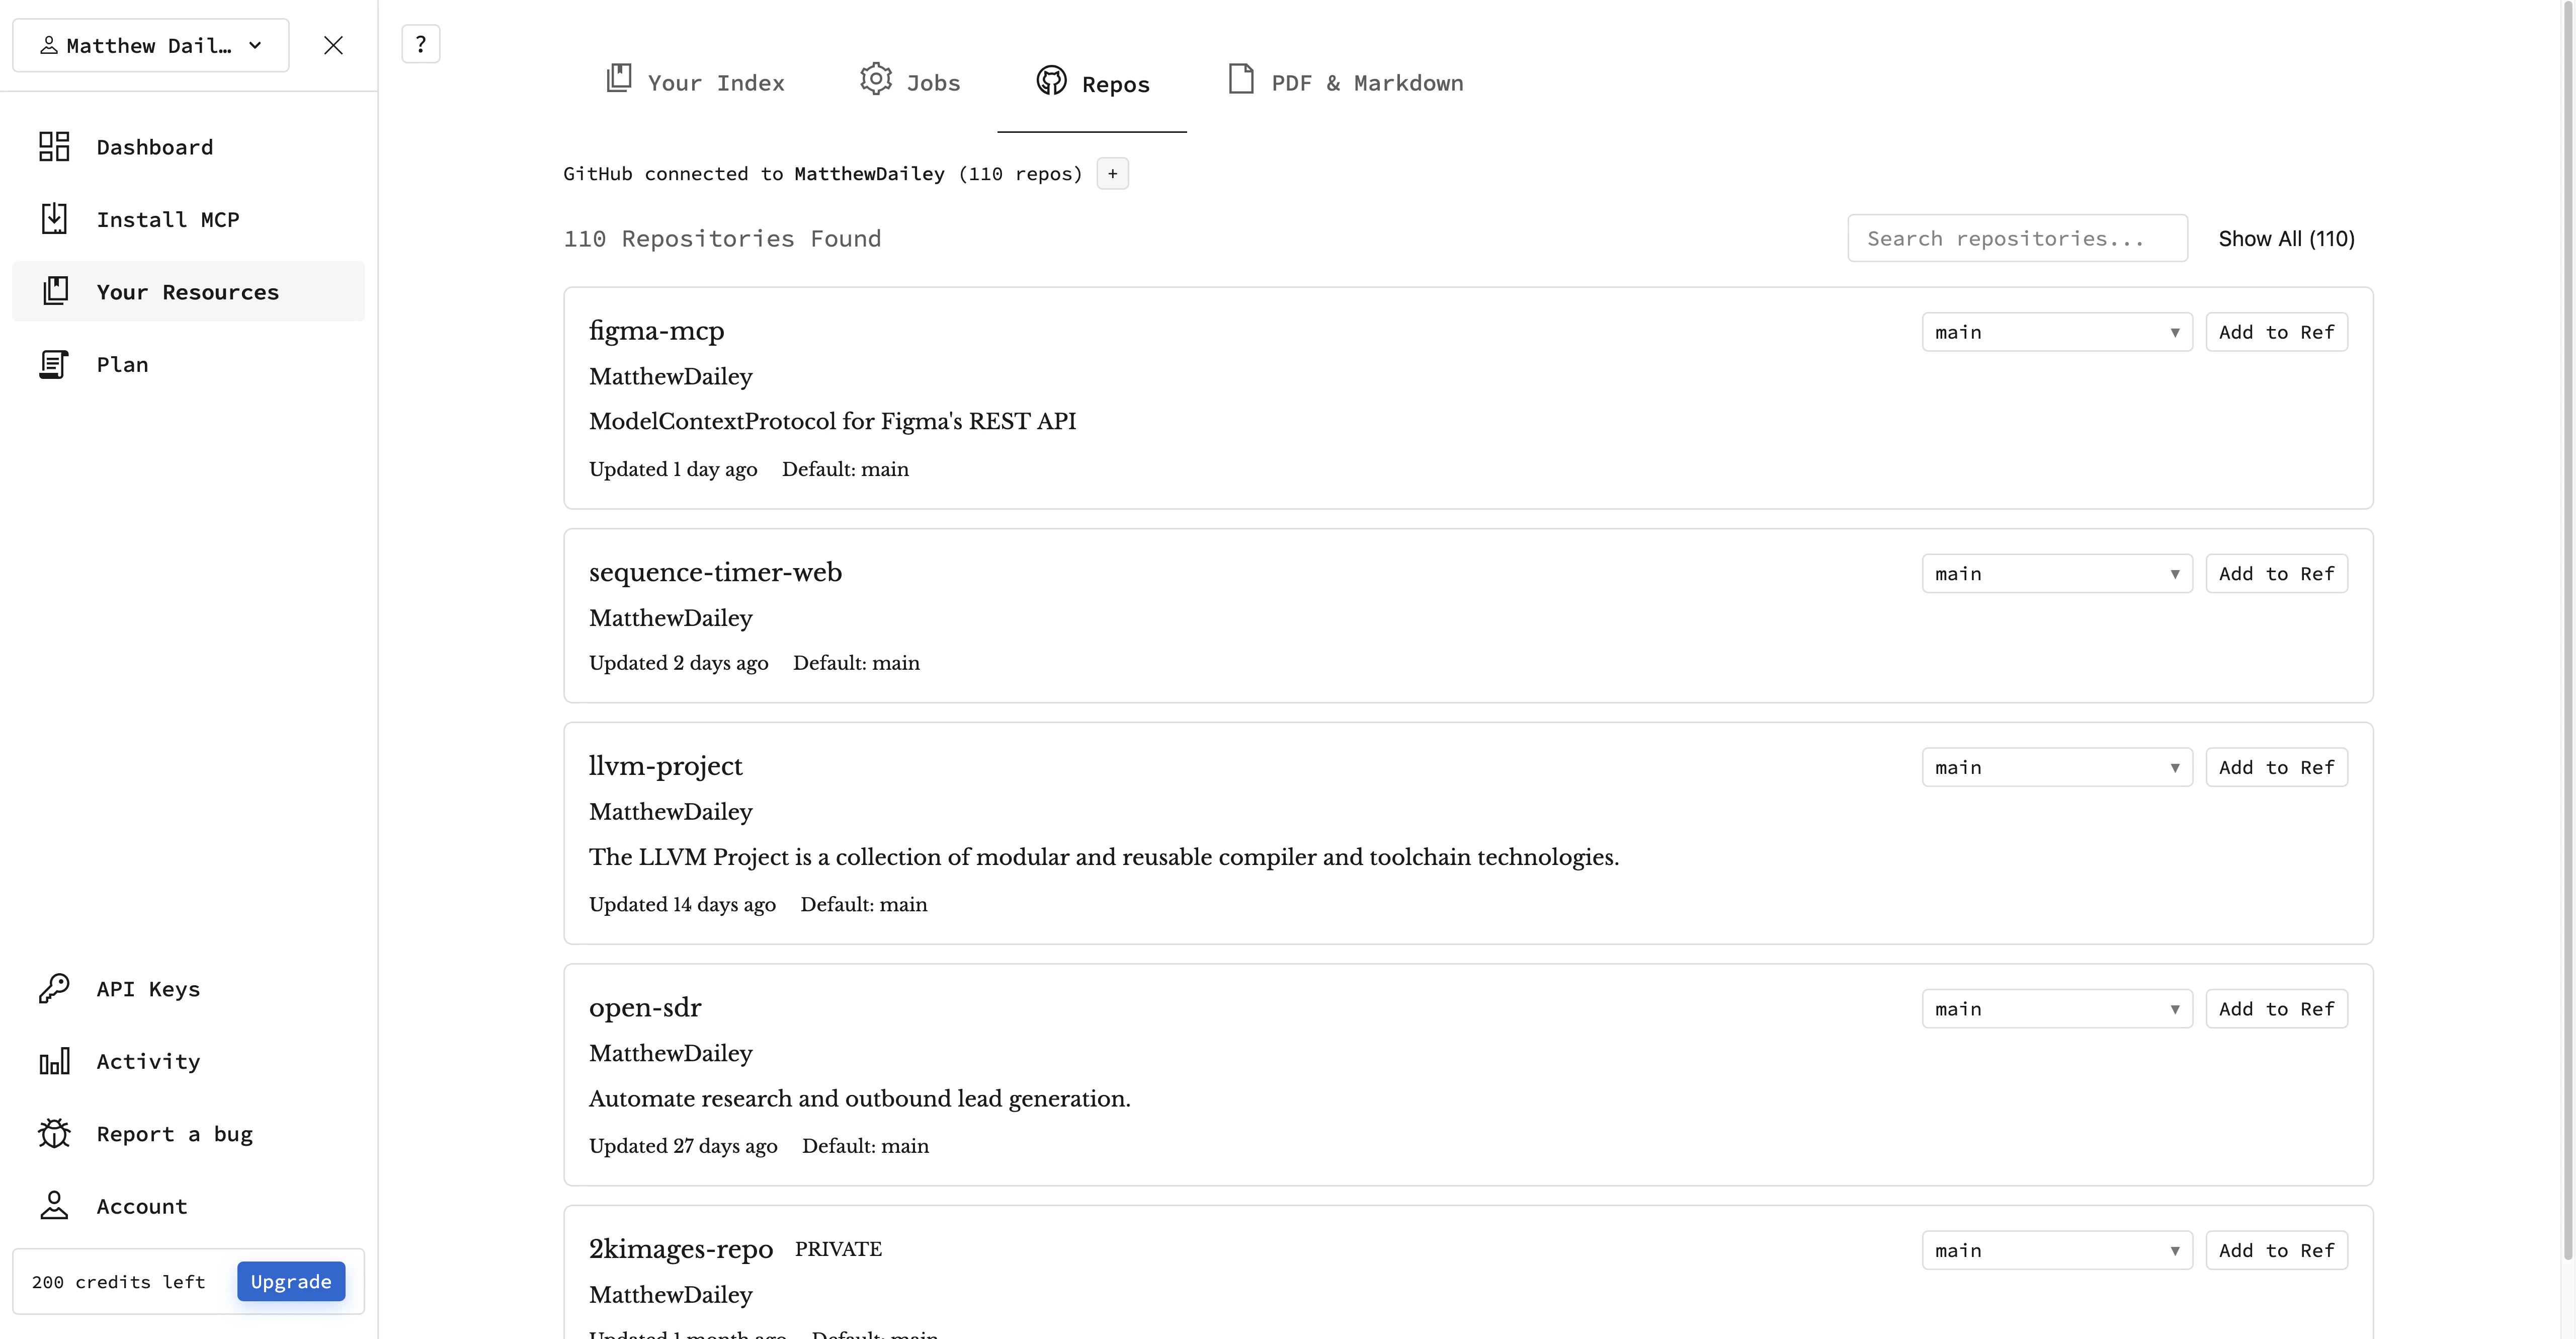
Link a GitHub repo so Ref can read your code and write plans that match your architecture.
Select the repos you want to index and click Add to Ref
Once indexed, Ref can read files, find existing patterns, and reference them when structuring your tasks.
3
Pick a coding agent
Choose which coding agent Ref should use to implement your tasks.
Open Settings (gear icon)
Click the Agents tab
Select an agent and follow the setup instructions below
Cursor
Devin
Warp OZ
Claude Code, Codex, and more
1. Add your API keyPaste your Cursor API key in the Agents settings tab. Get one from cursor.com/dashboard under the Cloud Agents tab.
2. (Optional) Install MCP server so agents can send messages and access the plan directly
Installing the Ref Plans MCP server lets Cursor read, write, and collaborate on plan documents. It’s optional for single-agent workflows but required for multi-agent orchestration.Add the MCP serverOpen cursor.com, click MCPs, click the + button and select Custom MCP then fill in the form or json as follows.
Replace YOUR_REF_API_KEY with your key from ref.tools/keys.Configure security rulesCursor’s cloud agents run in a sandbox that blocks external network requests by default. You need to allowlist api.plan.ref.tools so the agent can reach the MCP server.In the Cursor dashboard, go to Cloud Agents > Security Rules and add api.plan.ref.tools to the allowed domains.See the full Cursor MCP install guide for details.
2. (Optional) Install MCP server so agents can send messages and access the plan directly
Installing the Ref Plans MCP server lets Devin read, write, and collaborate on plan documents. It’s optional for single-agent workflows but required for multi-agent orchestration.Add the MCP serverIn the Devin dashboard, go to Settings > MCP Marketplace and click Add MCP Server:
Name:ref-plan
URL:https://api.plan.ref.tools/mcp
Add a header x-ref-api-key with your API key from ref.tools/keys
Click Enable
Configure security rulesDevin runs in a sandboxed environment. If your workspace has network restrictions, ensure api.plan.ref.tools is allowed. Devin typically permits MCP server URLs automatically once enabled.See the full Devin MCP install guide for details.
1. Add your API keyPaste your Warp API key (starts with wk-...) in the Agents settings tab. In the Warp desktop app, open Settings > Platform and create an API key.
Environment ID (optional) — most users with a single environment can leave this blank.
2. (Optional) Install MCP server so agents can send messages and access the plan directly
Installing the Ref Plans MCP server lets Warp read, write, and collaborate on plan documents. It’s optional for single-agent workflows but required for multi-agent orchestration.See the MCP install docs for step-by-step setup. If your environment restricts outbound network access, ensure api.plan.ref.tools is allowed.
1. No API key neededThese work as launcher agents — Ref generates a prompt with embedded webhook commands. You paste it into the agent yourself, and it reports progress back via the webhooks.Supported launchers:
Claude Code Web
Codex (Cloud and Desktop)
Conductor
Factory
Windsurf
Zed
GitHub Copilot
Cursor Desktop
2. (Optional) Install MCP server so agents can send messages and access the plan directly
Installing the Ref Plans MCP server lets these agents read, write, and collaborate on plan documents directly. It’s optional for single-agent workflows but required for multi-agent orchestration.See the MCP install docs for step-by-step setup instructions for your agent.
4
Write down what you're working on
No need for perfect formatting — just get your ideas down:
A rough description of the feature or bug
Links to a Linear ticket or GitHub issue
A schema, API shape, or data model
Bullet points, stream of consciousness, whatever gets it across
This is your thinking space. Get everything important out of your head and onto the page.If you want to pull in context from Linear, Asana, or GitHub Issues, you’ll need to connect those first — see the Integrations guide for setup.
5
Build the plan with Ref
Open the chat panel and ask Ref to turn your notes into tasks. For example:
Research the codebase and break this into tasks withimplementation steps and verification criteria.
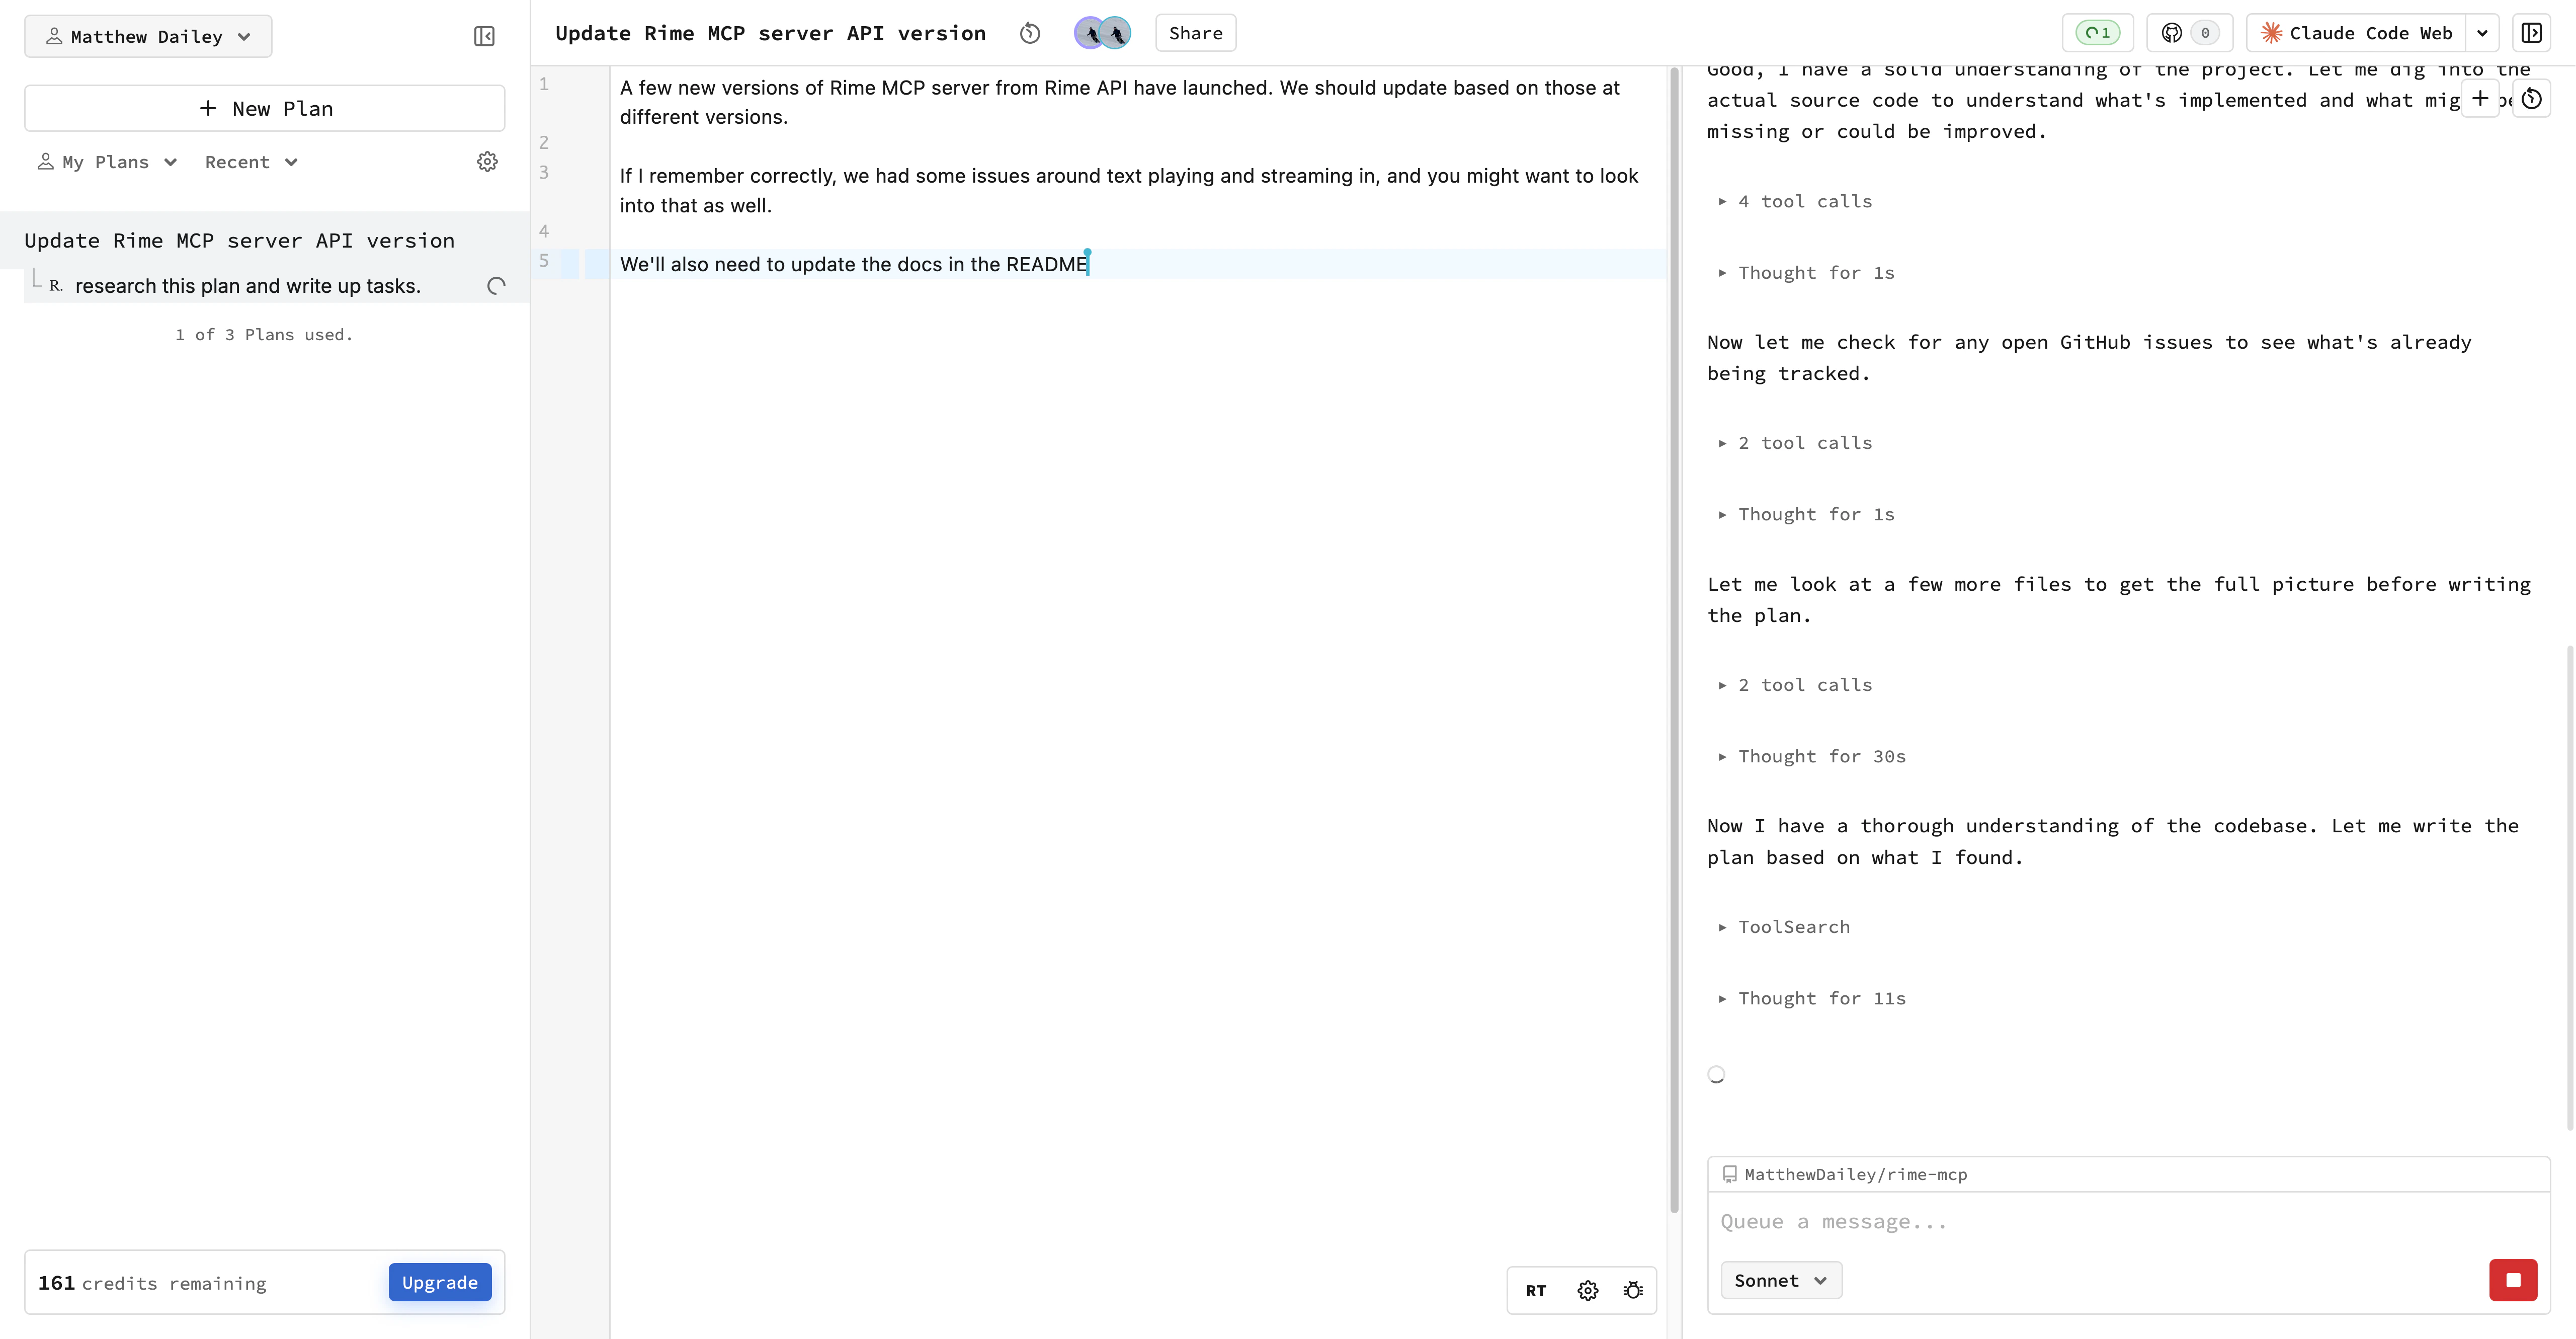
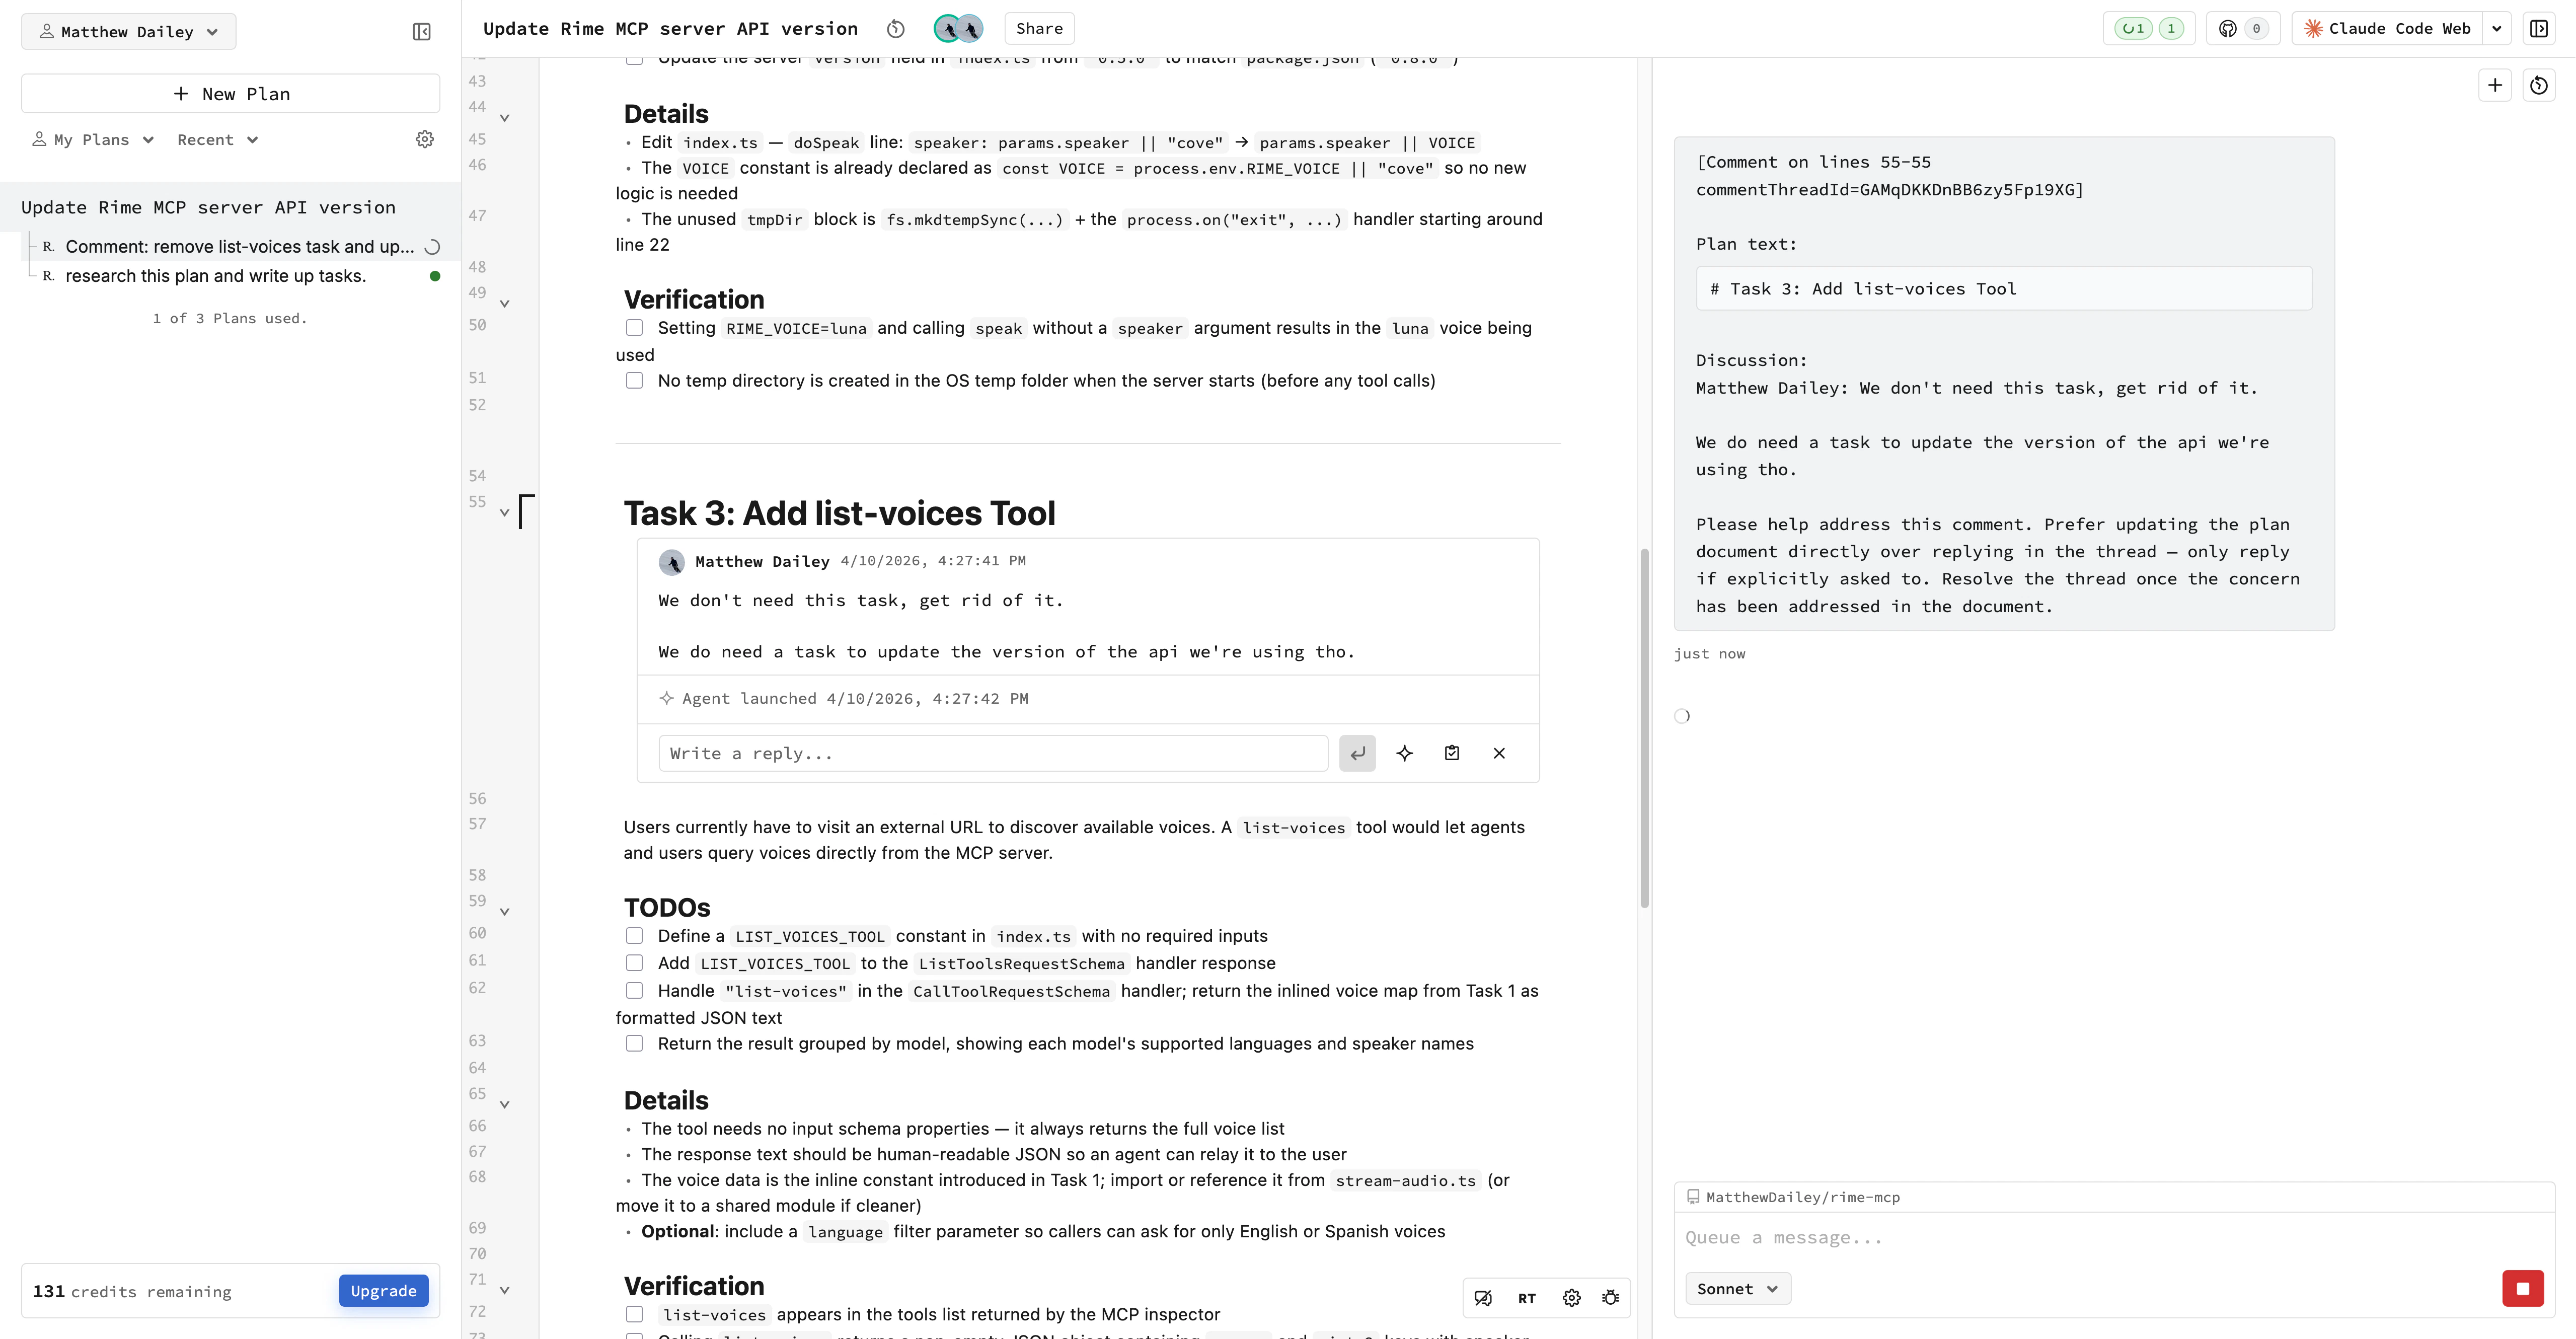
Ref reads through your indexed repos, finds the patterns that matter — auth flows, DB models, API routes — and turns your notes into concrete tasks with file paths and verification steps. Ask it to split a task, add more detail, or reconsider an approach until the plan feels right.Once the draft is down, use comments to leave feedback or tag teammates for review. Ref can address comments directly, updating the plan based on what you and your team surface.
Ref researches your codebase and drafts a plan
Have agents address comments directly on the plan
6
Ship it
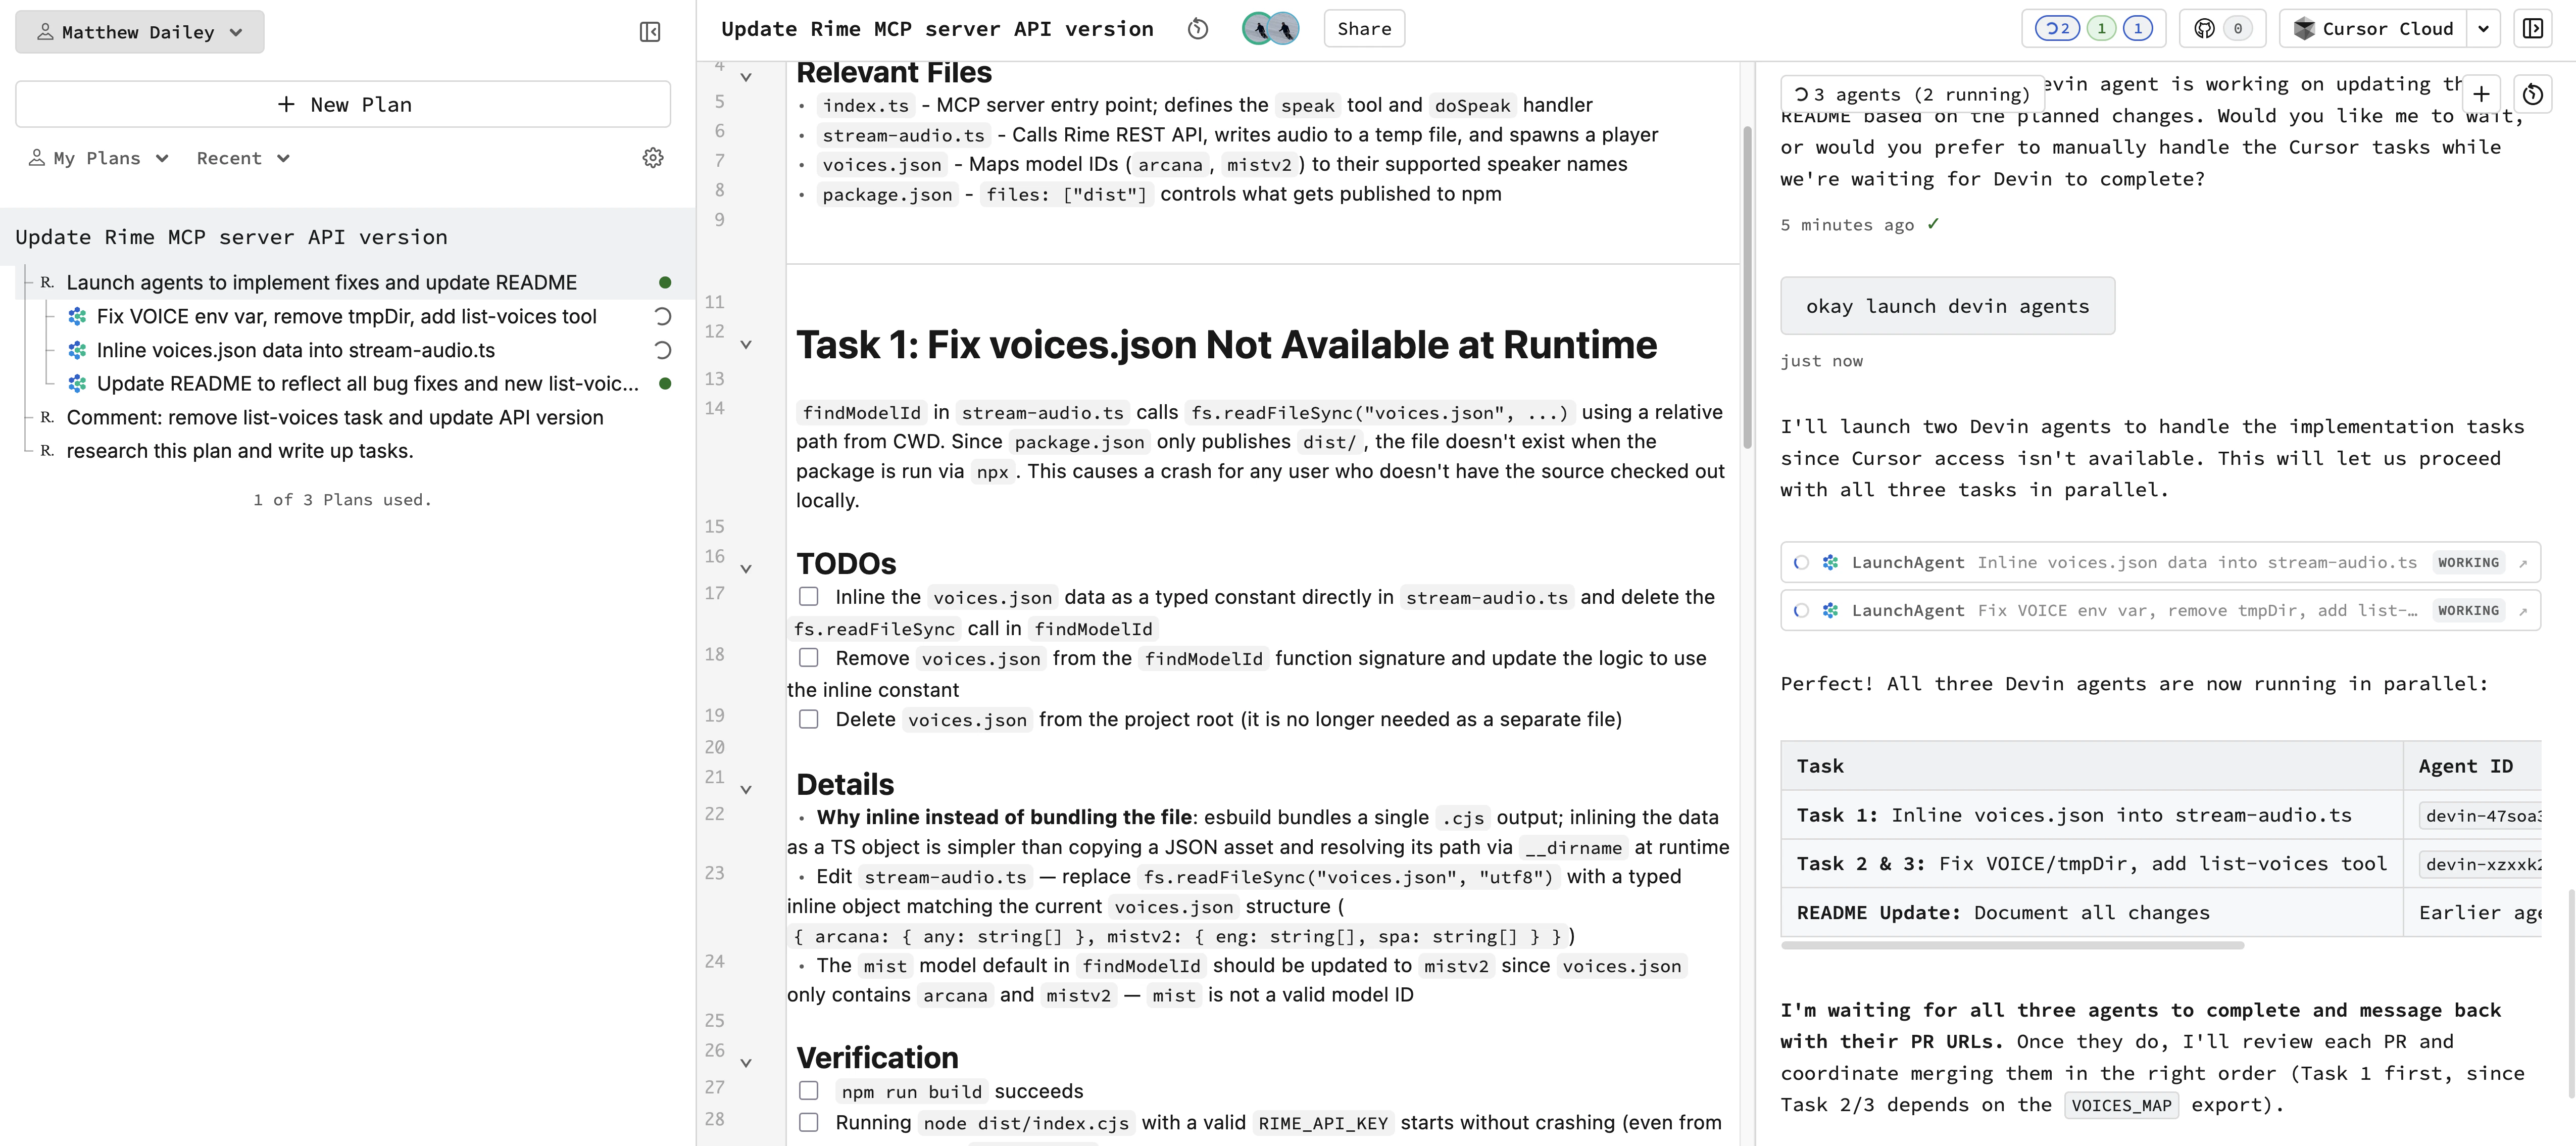
When your tasks are ready, tell Ref to start implementing. You can pick specific tasks or hand off the whole plan:
Implement tasks 1-3.
Implement the plan.
Ref spins up a separate coding agent for each task, pre-loaded with the task details, file references, and repo context. Multiple tasks run in parallel, each on its own branch.You can keep working while implementation runs. Progress flows back automatically — watch status updates come in, and continue refining upcoming tasks.When a task finishes, a PR appears directly in your plan. You can provide higher-level feedback as work progresses, or enable auto-merge to let Ref review and merge PRs on your behalf.